Right, left, top, bottom? When you’re trying to work out which way to print your strap, you can get confused. But don’t worry! We’ll give you the key to understanding.
What is the printing orientation ?
To find out which printing direction to choose, you first need to know what it is and what the options are.
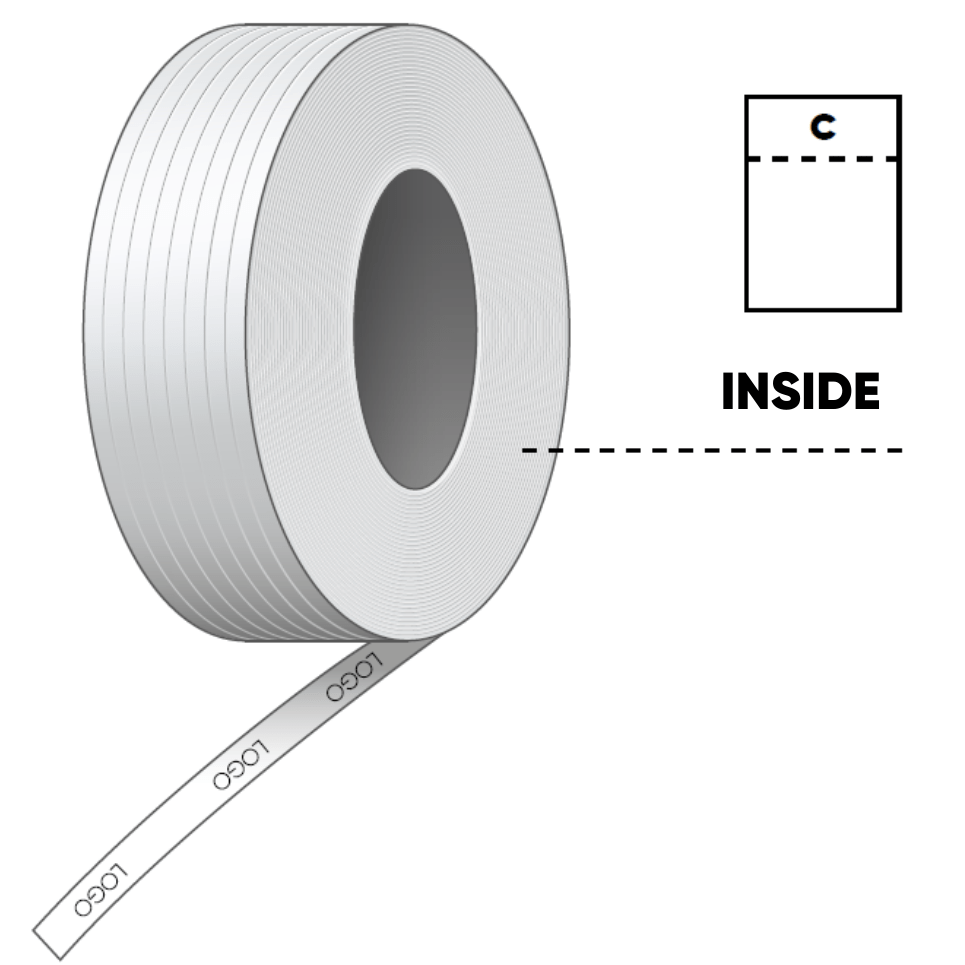
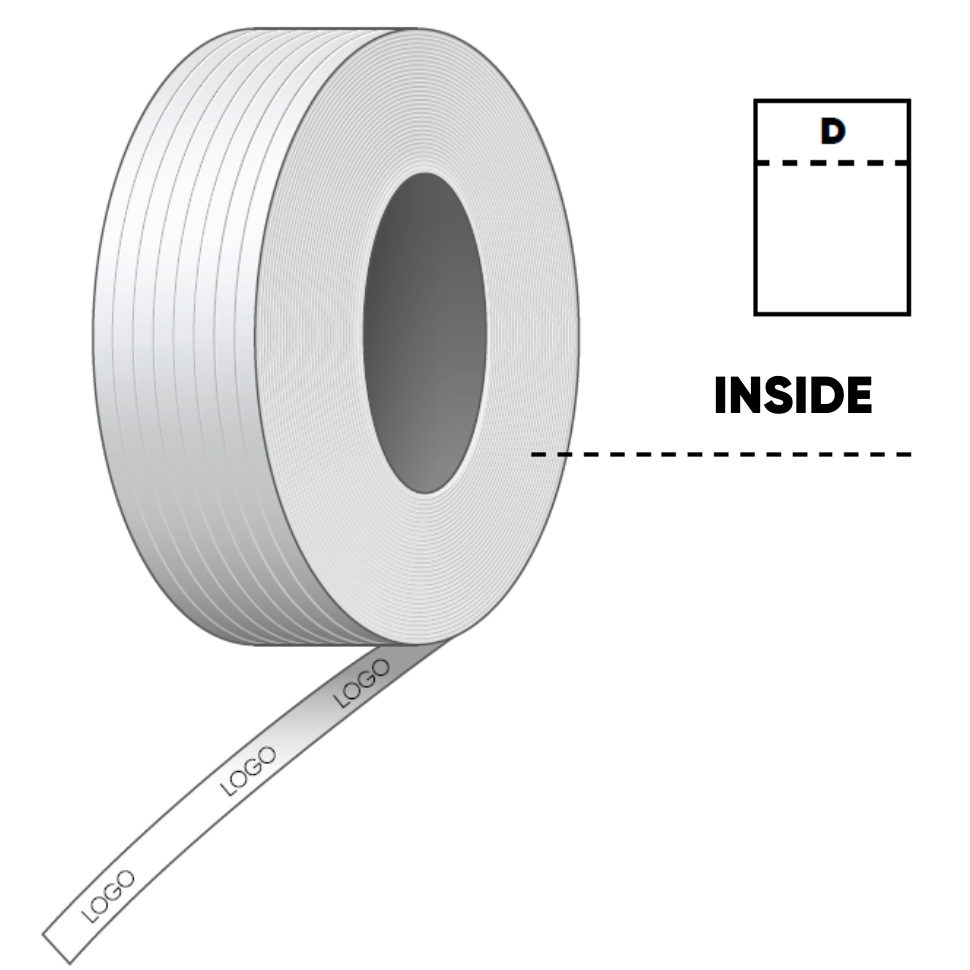
The printing orientation is the side of the strap on which you want to print. In other words, inside or outside.
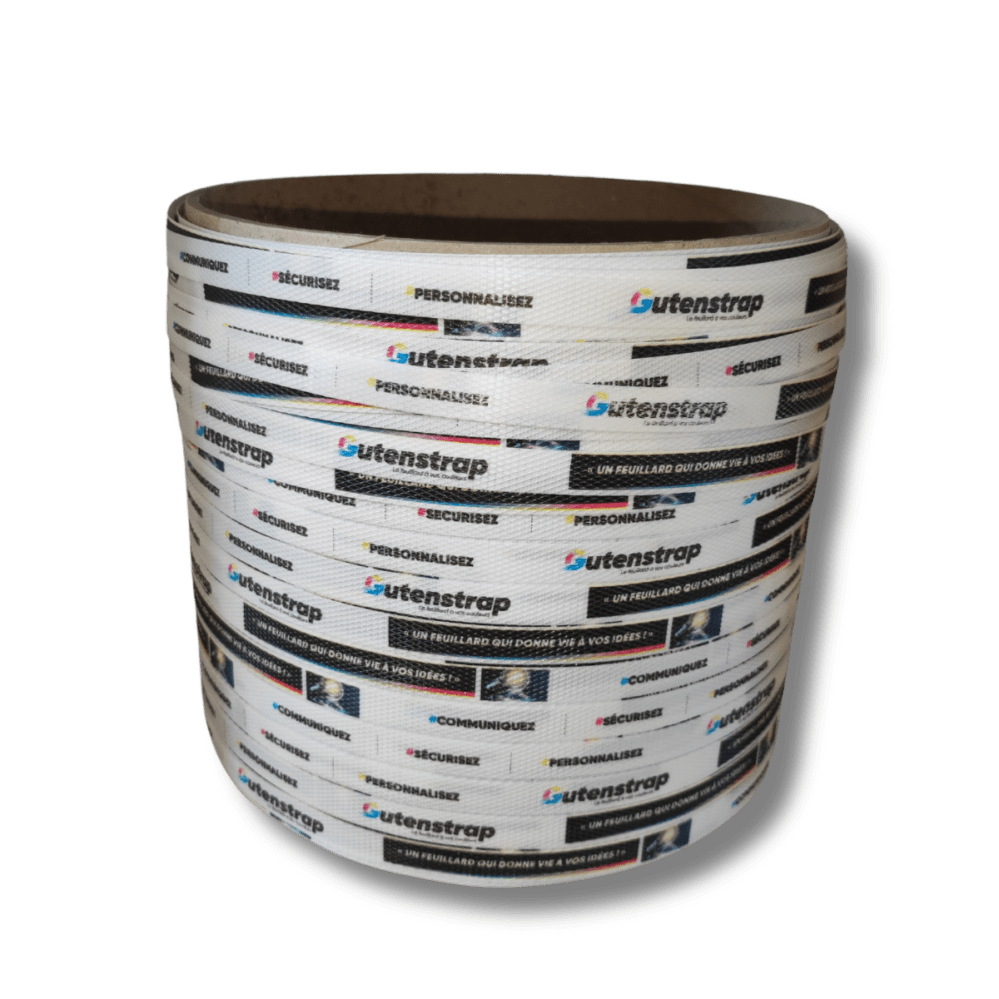
Then there’s the reading direction, which can be left to right or right to left, depending on the direction in which your package arrives under the machine. This will also determine the direction in which the coil is wound.
Your choice will depend on the direction you want your print to appear and the machine you are using (manual, semi-automatic or automatic strapping tool).
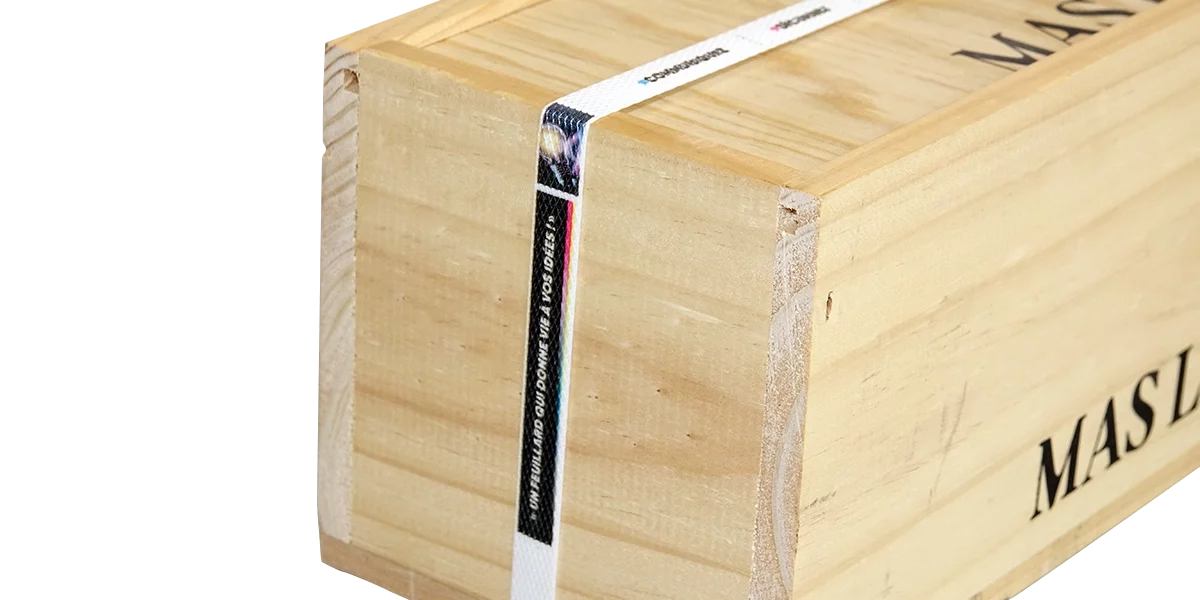
If you print on the inside of the strap, the print is not visible on the coil, whereas if you print on the outside, the print is visible.
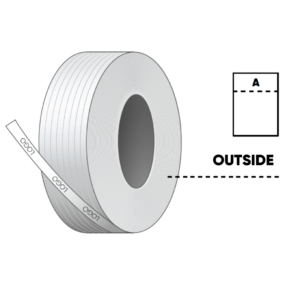
EXTERNAL PRINTING
A B

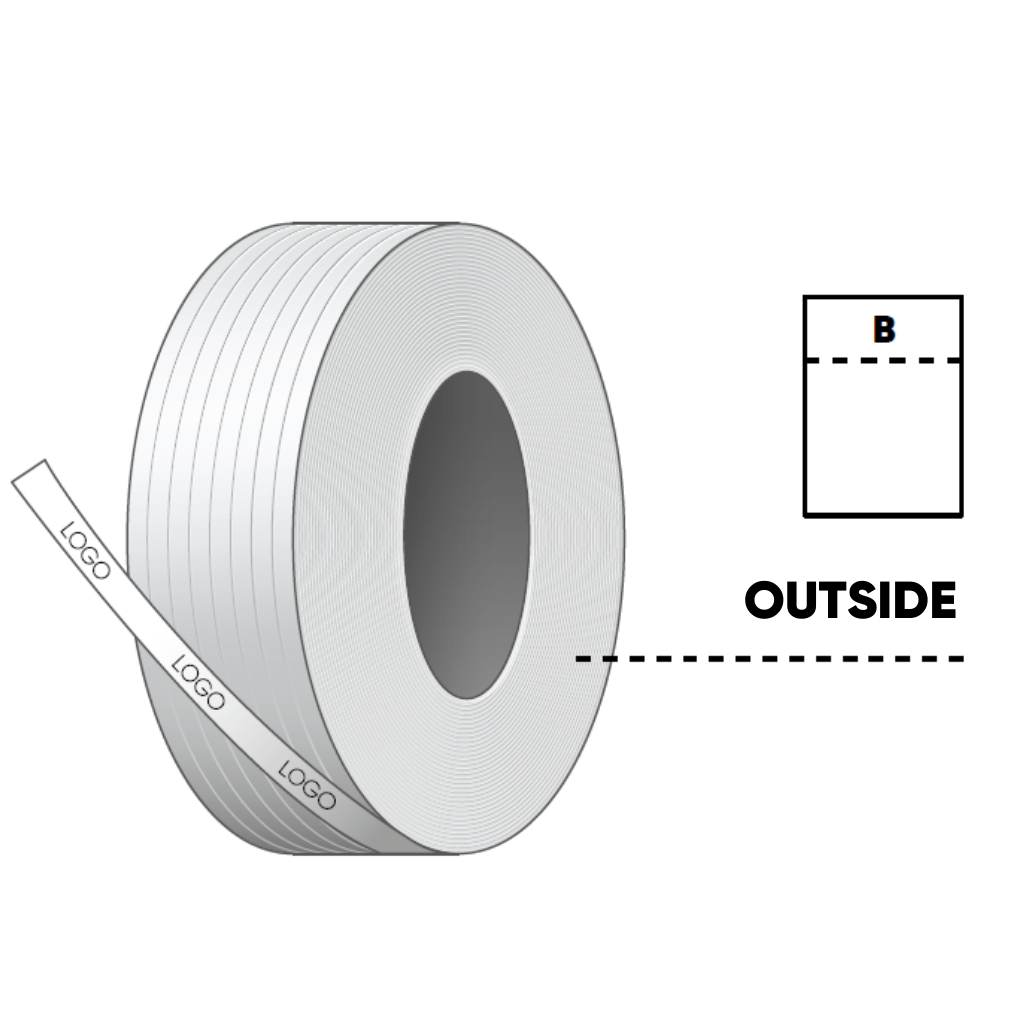
INTERNAL PRINTING
C D
what’s the point of choosing the printing direction for our straps? ?
Depending on the result you want to get when you strap on your merchandise, the printing direction changes everything. If you want your image or text to be printed one way or the other, this choice is crucial.
When making your choice, you will see the pictograms opposite :
A / Outside, reading direction from left to right.
B / Outside, reading direction from right to left.
C /Inside, reading direction from left to right.
D/Inside, reading direction from right to left.
Choosing the way you want your strap to be printed will make your job easier and save you time.
How can you determine the orientation by your own?
The procedure is simple: just like testing with a printer, you take your strap and write what you want on it using a pen. Then use your strapping tool to test which side the print will appear on your package. It’s that easy!
the different printing orientations for different tools and machines
Depending on the strapping tool you have, it’s worth finding out which printing direction is best for you.
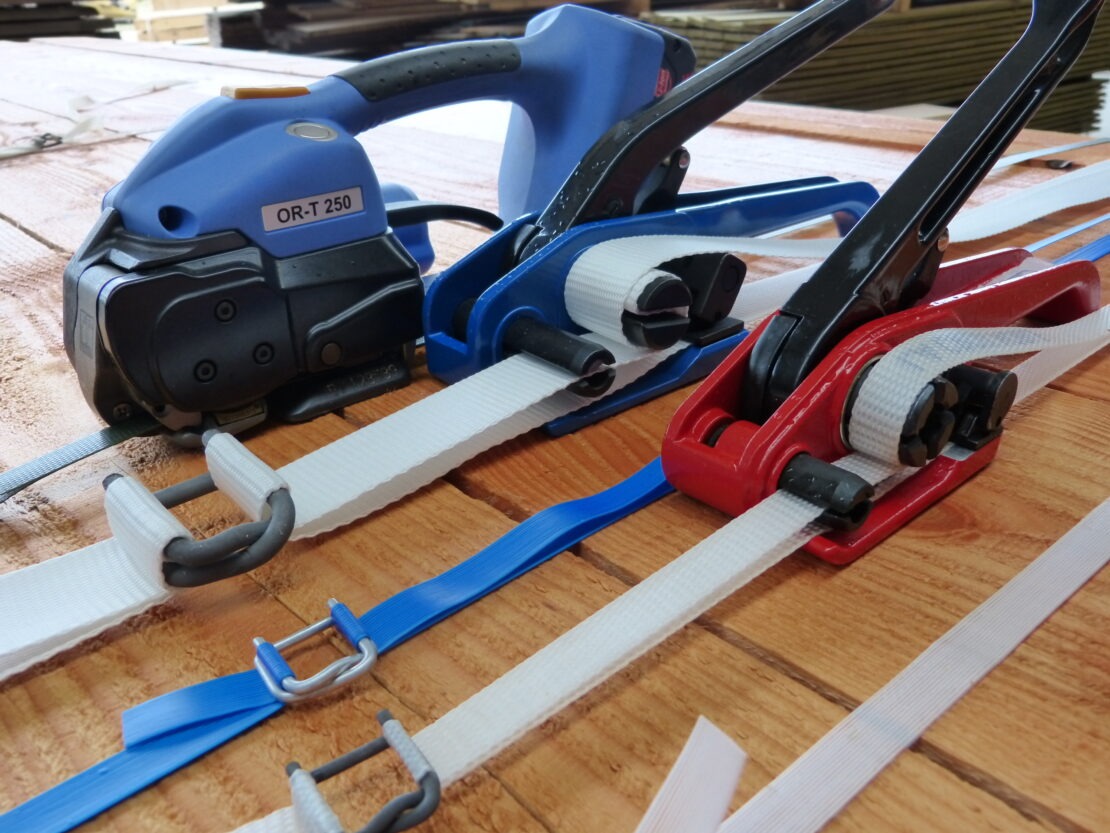
Strapping tools
In the case of manual strapping tools, the choice is simpler because you arrange your merchandise yourself. However, you need to think carefully about the position in which you are strapping. Here are a few examples :
For all manual strapping tools with a buckle passing under the pallet, the directions to choose are :
C or D
Manual strapping tools with a seal passing over the top of the pallet, this time the printing orientations are :
A ou B
The printing orientation of the strap for friction strapping tools are also :
A ou B
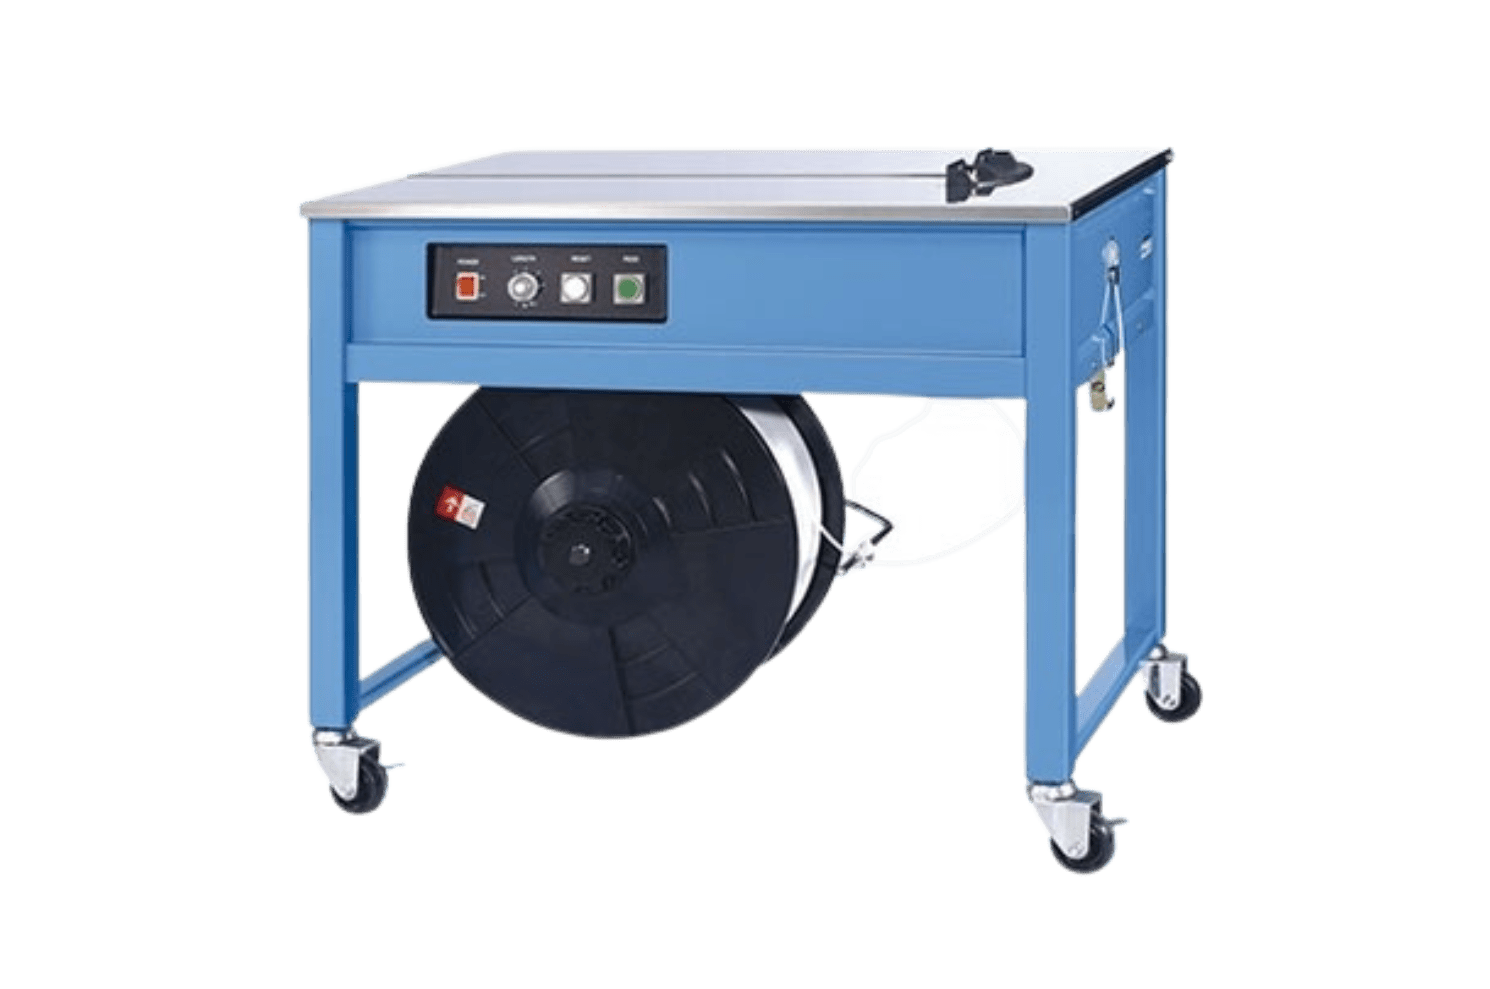
Semi-automatic strapping tables
Strapping tables are simple to trim, but each requires a different way of inserting the strap. You can determine the orientation of your strap by carrying out a test. Here are a few examples :
TP-202 Strapping Table – Paper and PP strap :
A or B
For the IQ-400 strapping table, – Paper and PP straps :
C or D
The EXS-303 – Paper or PP straps :
C or D
Automatic strapping machines
For automatic strapping machines, you can of course use paper strap and/or printed PP strap. Here are a few examples :
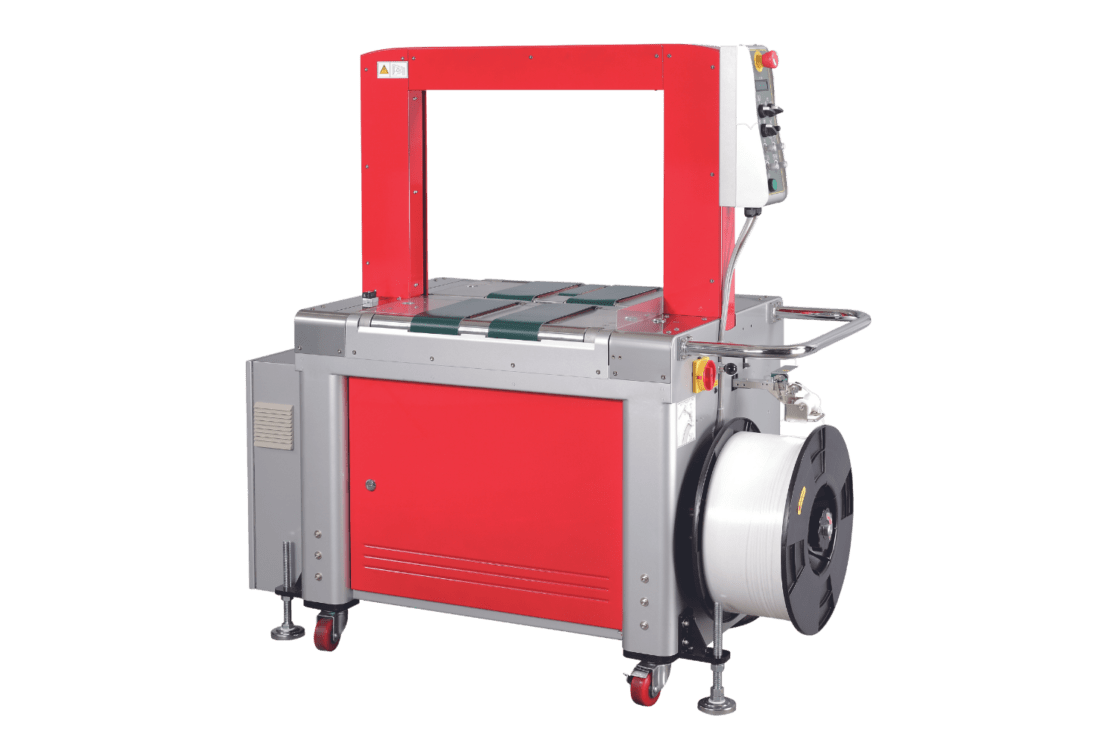
Automatic strapping machines TP-702, TP-601D or also TP-6000 are adapted to :
C or D
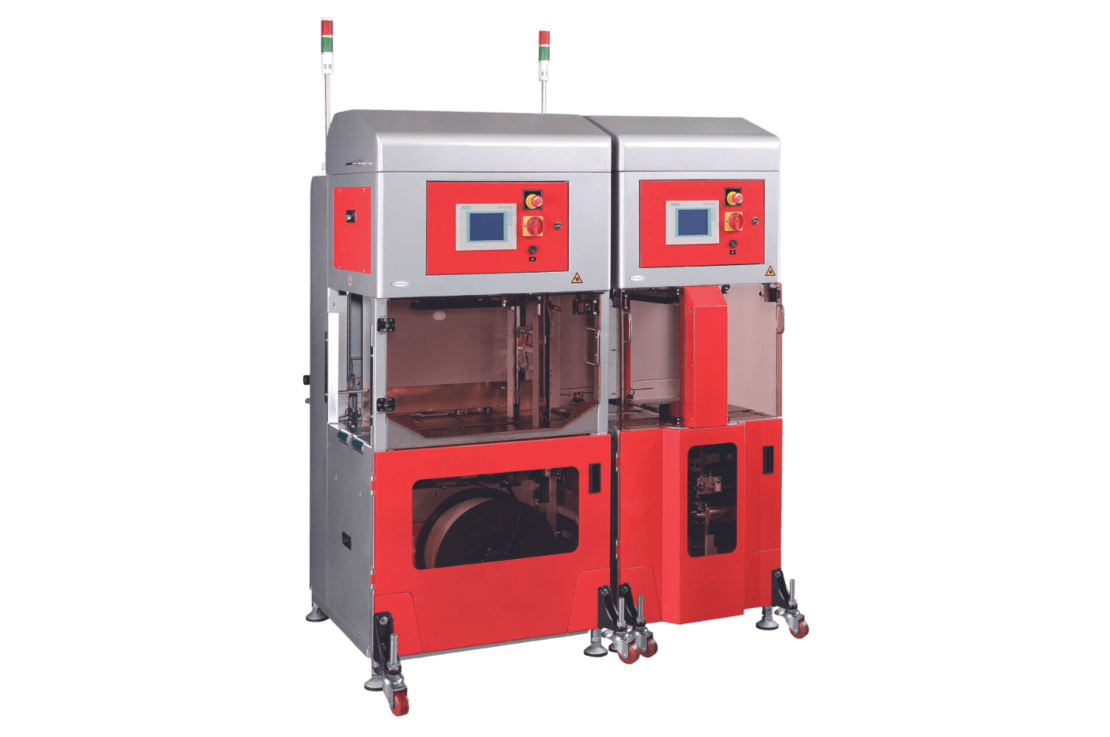
For fully automatic strapping machines such as the TP-702A, TP-702B or TP-702BP, the orientations are also as follows :
C or D
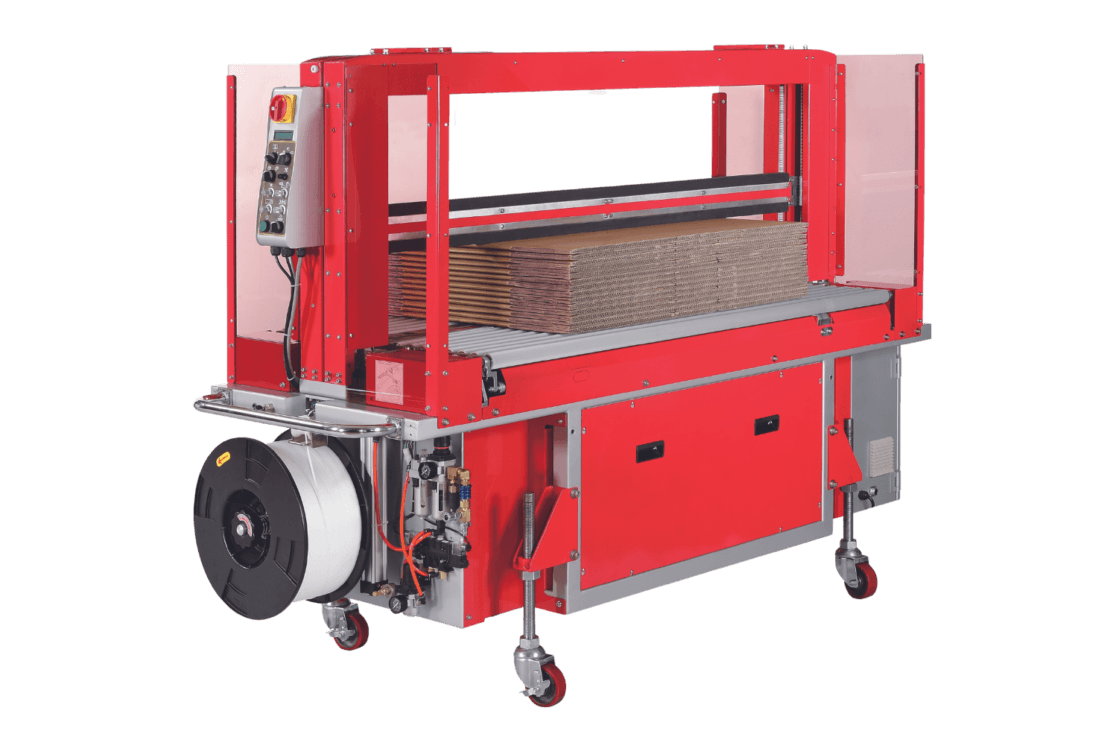
Automatic strapping machines for the cardboard and printing sectors
For automatic strapping machines in the cardboard and printing sectors, the printing orientation is generally the same, but it’s worth carrying out a test to be sure. For example :
The automatic strapping tools in the cardboard range, such as the TP-702C , TP-702CCQ or TP-702CQ, conform to the following orientations :
C or D
Automatic strapping machines for printing range such as the TP-702NS , TP-702NIL or TP-702P are also suitable for orientation :
C or D
Pallet strapping machines
Pallet strapping machines are all specific, so here’s how to determine your printing orientation :
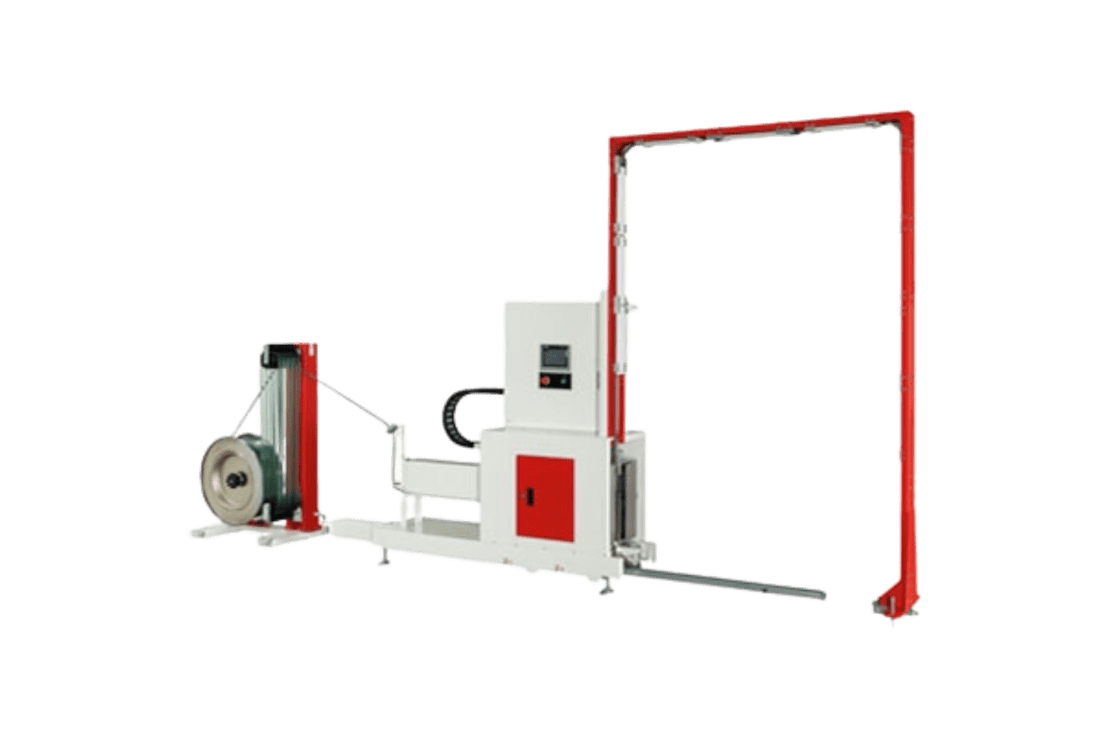
- Do the test just like on a printer. Once the coil of strap has been inserted into the machine, take a pen and write a text to see which way it will come out after strapping, circle your pallet and see which way the writing appears
- Contact us in case of need or misunderstanding.
At this stage, you have all the information you need to determine the optimum orientation for your strap, guaranteeing secure, customised strapping. The field of possibilities is wide open – it’s up to you !